
When submitting a quilt to
Quilt Shows
there are specific regulations
for the size of sleeve
that needs to be attached to the back of the quilt.
The general rule for most shows request a
4 inch wide sleeve (finished)
that is placed
1/2 inch from the bound edge
*make sure to check your specific Show Regulations

Once you have quilted your quilt
and trimmed the edges you are ready to make the sleeve.
Measure across the top of your quilt
which gives you the
Width of the Quilt

Cut the sleeve fabric
9 inches long
by the Width of your Quilt

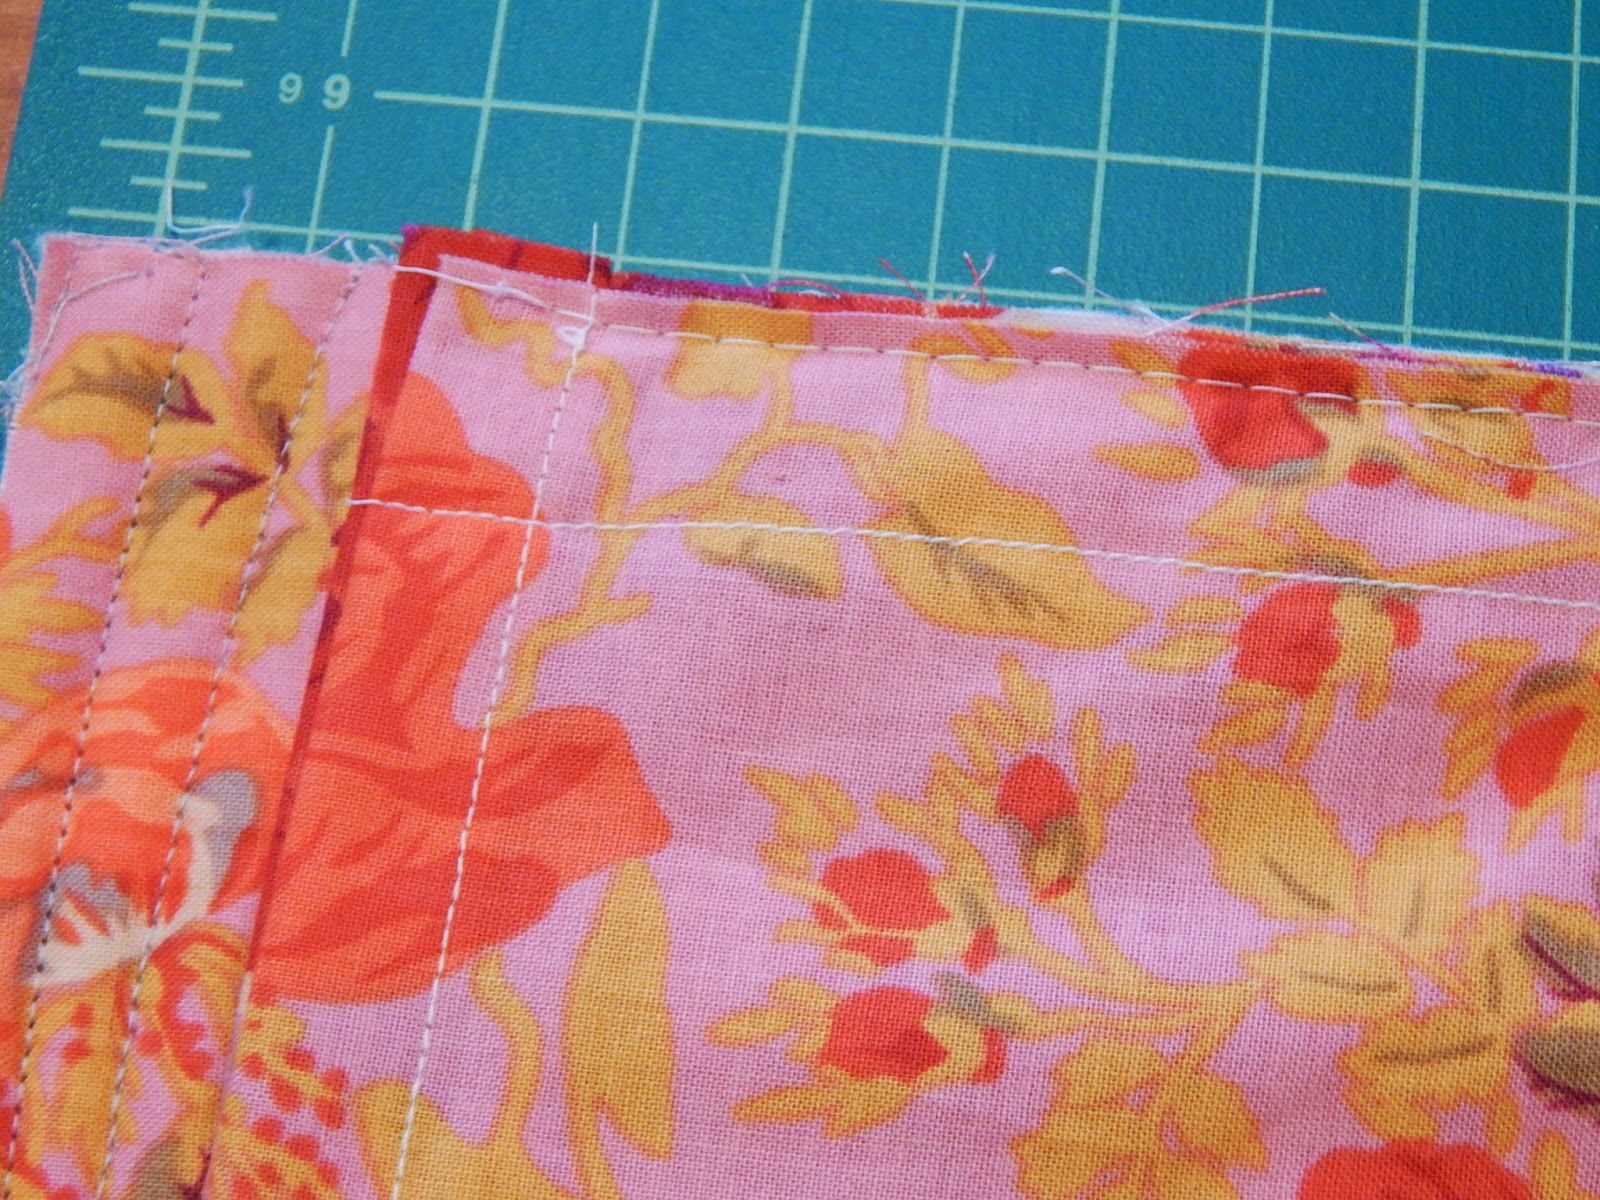
On both sides of the 9 inch length
press down 1/4th inch

Turn down 1/4th inch again and press

Stitch the folded edges.

Bring the bottom of the sleeve up to the top
matching raw edges.

With a removable marker
draw a line 3/4 inch from the top of the sleeve.
I like to use Frixion pens where the lines are easily removed
with the touch of an iron.

Stitch on the drawn line.
Center the sleeve to the top of the quilt.
Notice this leaves a gap on the end.
Baste the sleeve to the top of the quilt
using about an 1/8th inch seam allowance

Bind the quilt using a 1/4th inch seam allowance.

The stitching line at the top of the sleeve
is now is exactly 1/2 inch to the binding line
and your pocket is 4 inches wide.

Hand stitch the bottom edge of the sleeve down to the backing.
The quilt is now ready to be
The quilt is now ready to be
easily slipped over a rod
and
hung on display.
3 comments:
so that's how you do that! that is good info to tuck away
Don't you hand stitch the bottom edge of the sleeve? It would very good to know. Thank you.
Thanks for information.
Post a Comment